Do you ever find yourself with a massive stash of leftover yarn scraps from all your previous crochet or knit projects?
I do; frequently – and up until recently, I had resigned myself to permanently hanging onto a million quarter-skeins that would seemingly never be used.

This post may contain affiliate links. View our disclosure policy for details.
HOWEVER.
I recently stumbled across a Reddit sub that was dedicated to minimizing waste (r/ZeroWaste for you Redditors out there) and saw a post from someone who crocheted their stash of yarn scraps into a gorgeous, multi-color laundry crochet basket! It looked so fun that I had to try it out for myself.
So, my first stash-clearing basket was born. I made the crochet basket pattern up as I went and didn’t take photos of the process, but I can share a photo of that final result:

Check out this fun crochet basket pattern!
I’m in LOVE with how it turned out!
That project used up nearly all my yarn scraps – but I have found myself with a ton of pink yarn leftovers still. We can blame that on having a baby girl. 
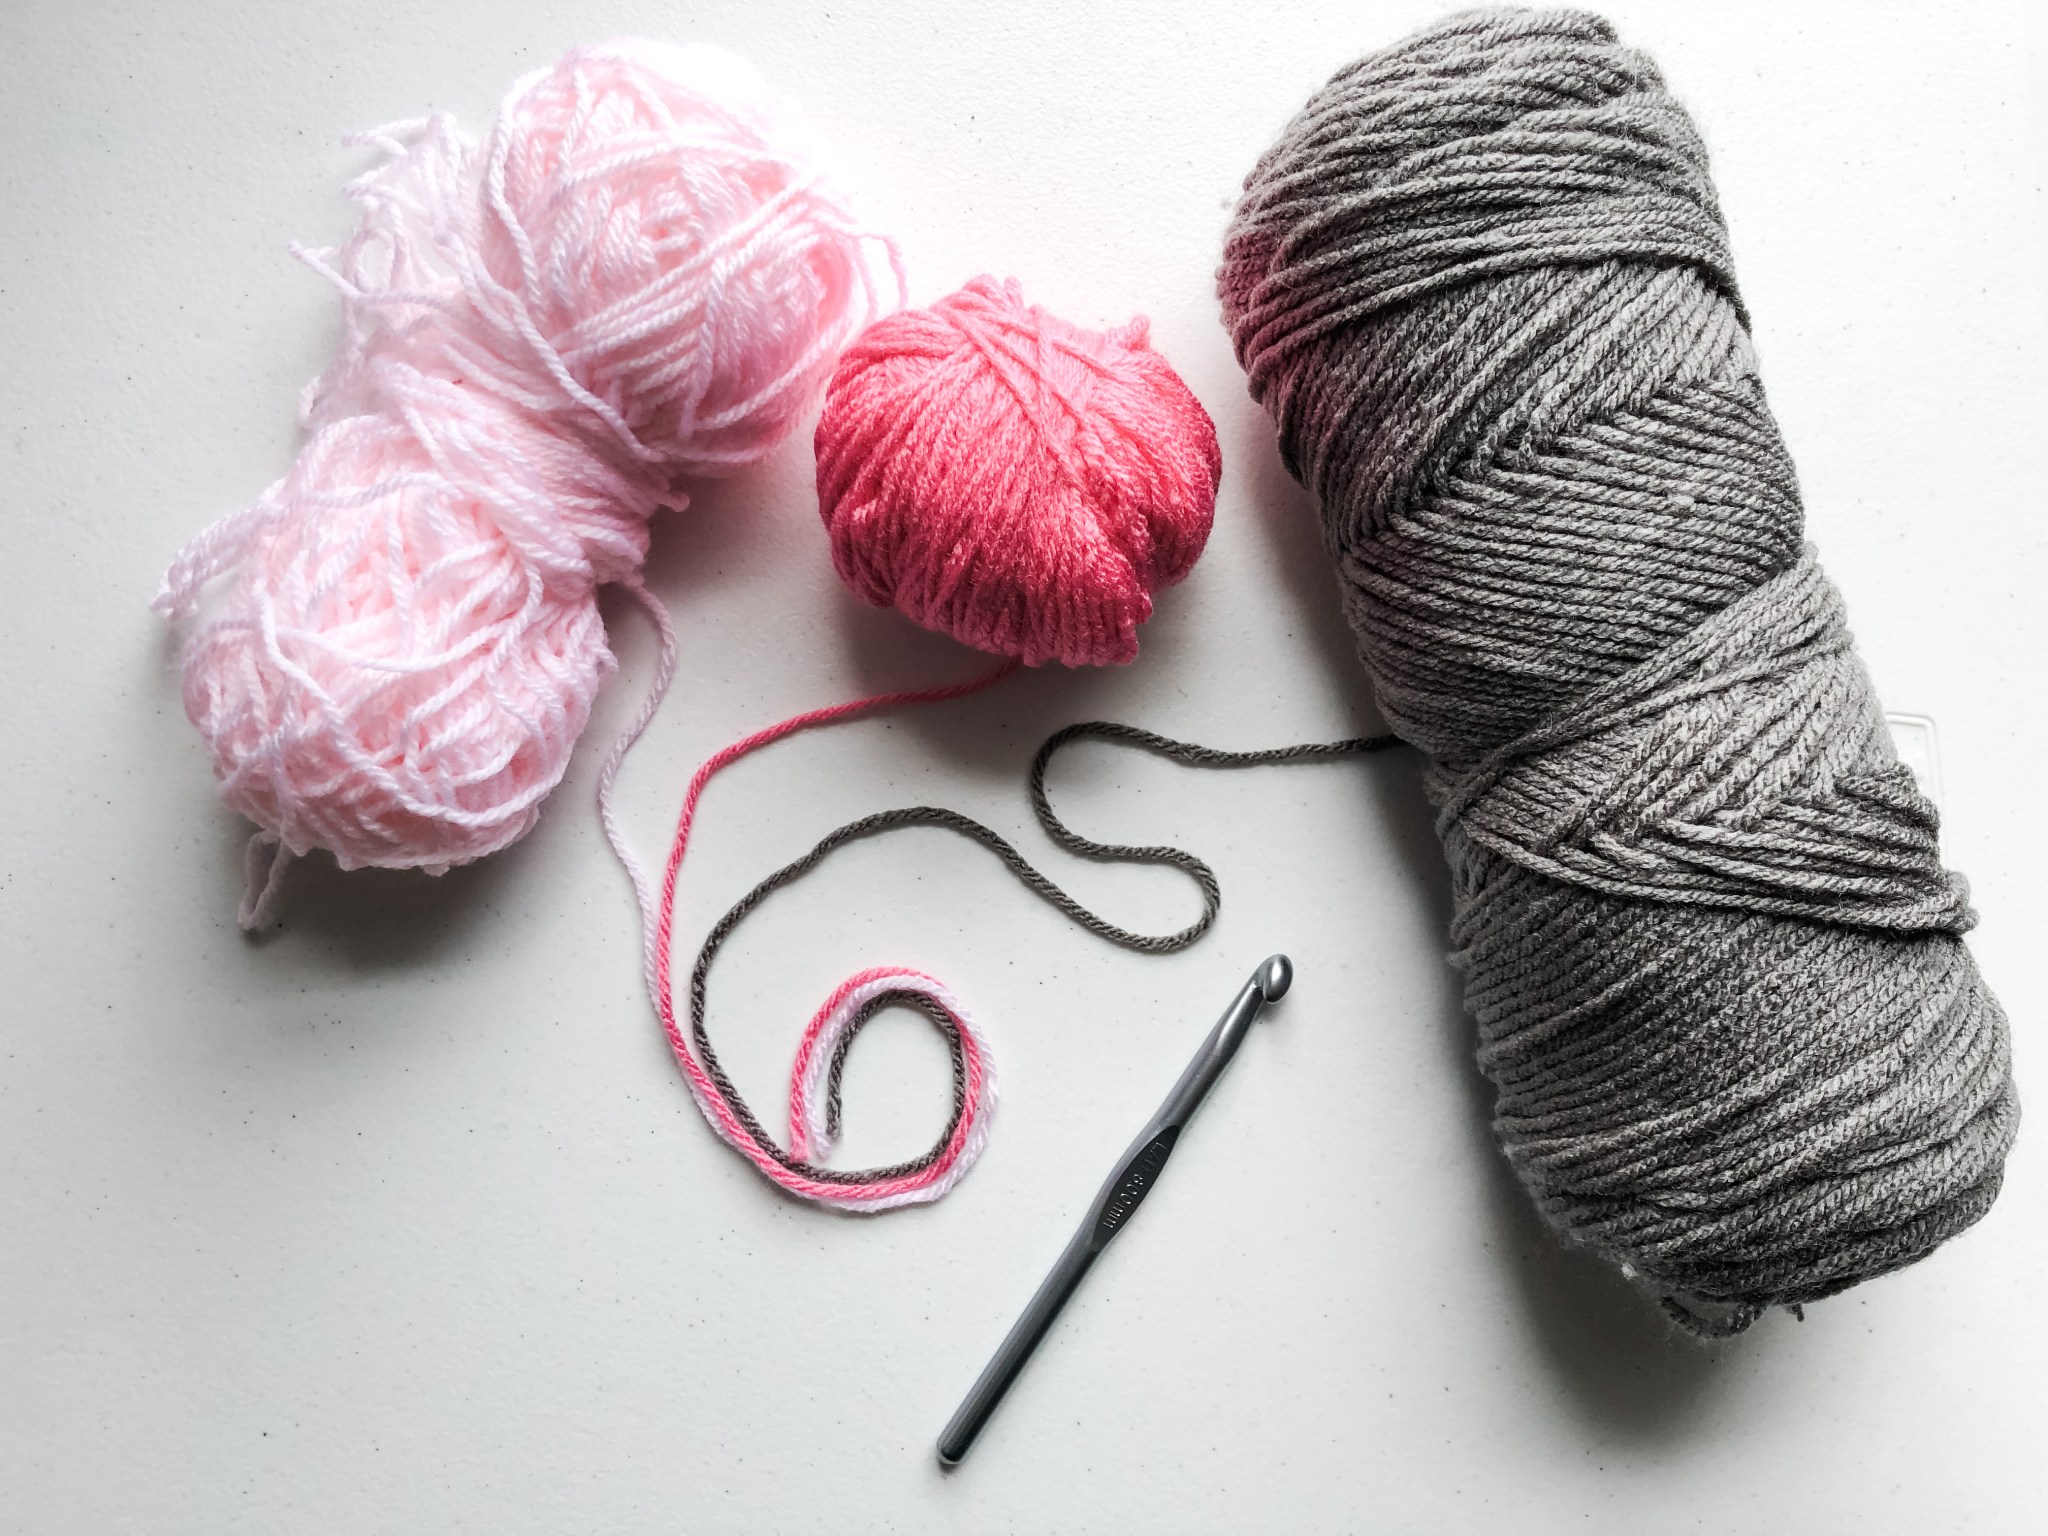
I picked three colors to start with. These were each medium weight yarns and I used an 8mm crochet hook. The two pinks were leftovers I was hoping to use up, and I decided to use gray as a third color throughout the whole basket in order to tie the pinks together a little bit.
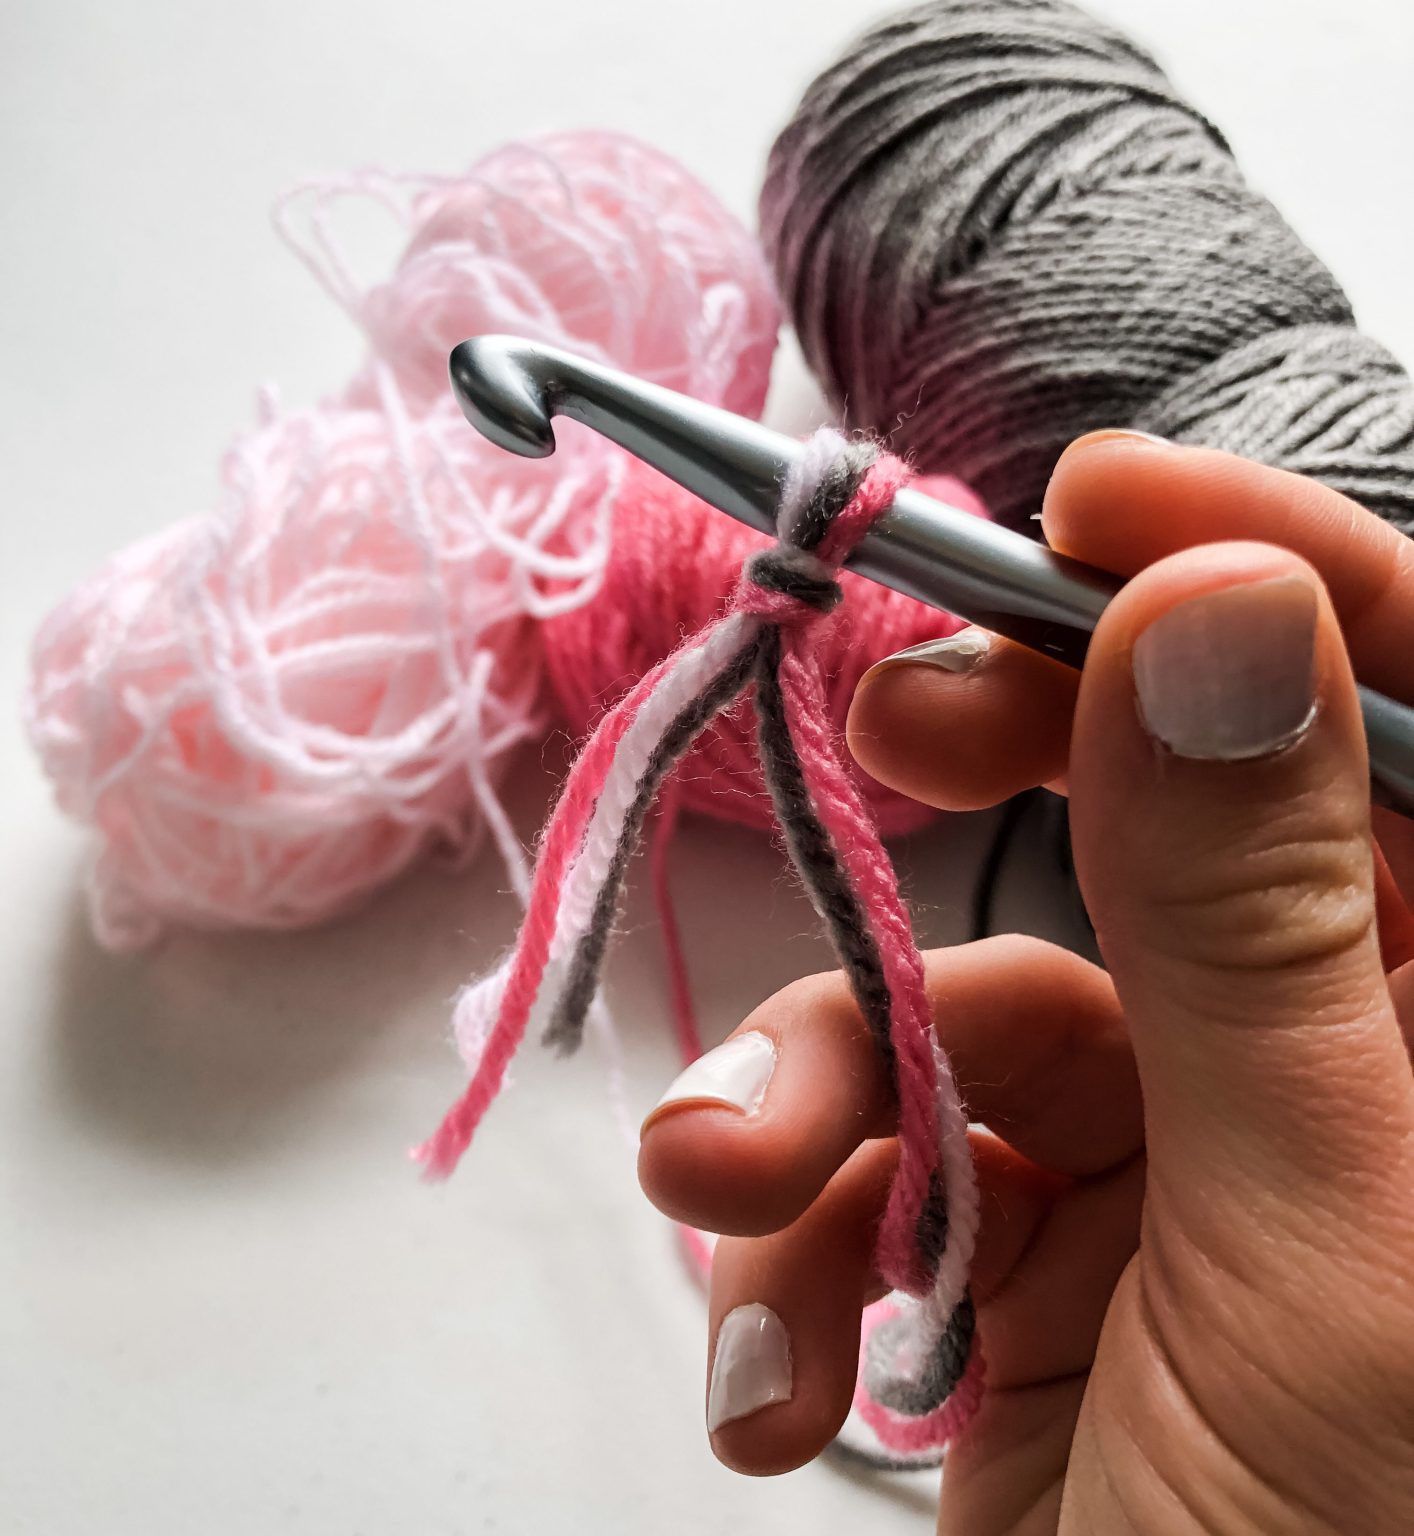
The key is to crochet with your three strands as if they were one strand.
I only used single crochet stitches (“sc”) for this entire crochet basket. The base is made by working in rounds to create a giant circle.
To crochet a circle, you begin with a slip knot and then chain 2. Make six single crochet stitches into the second chain from the hook.
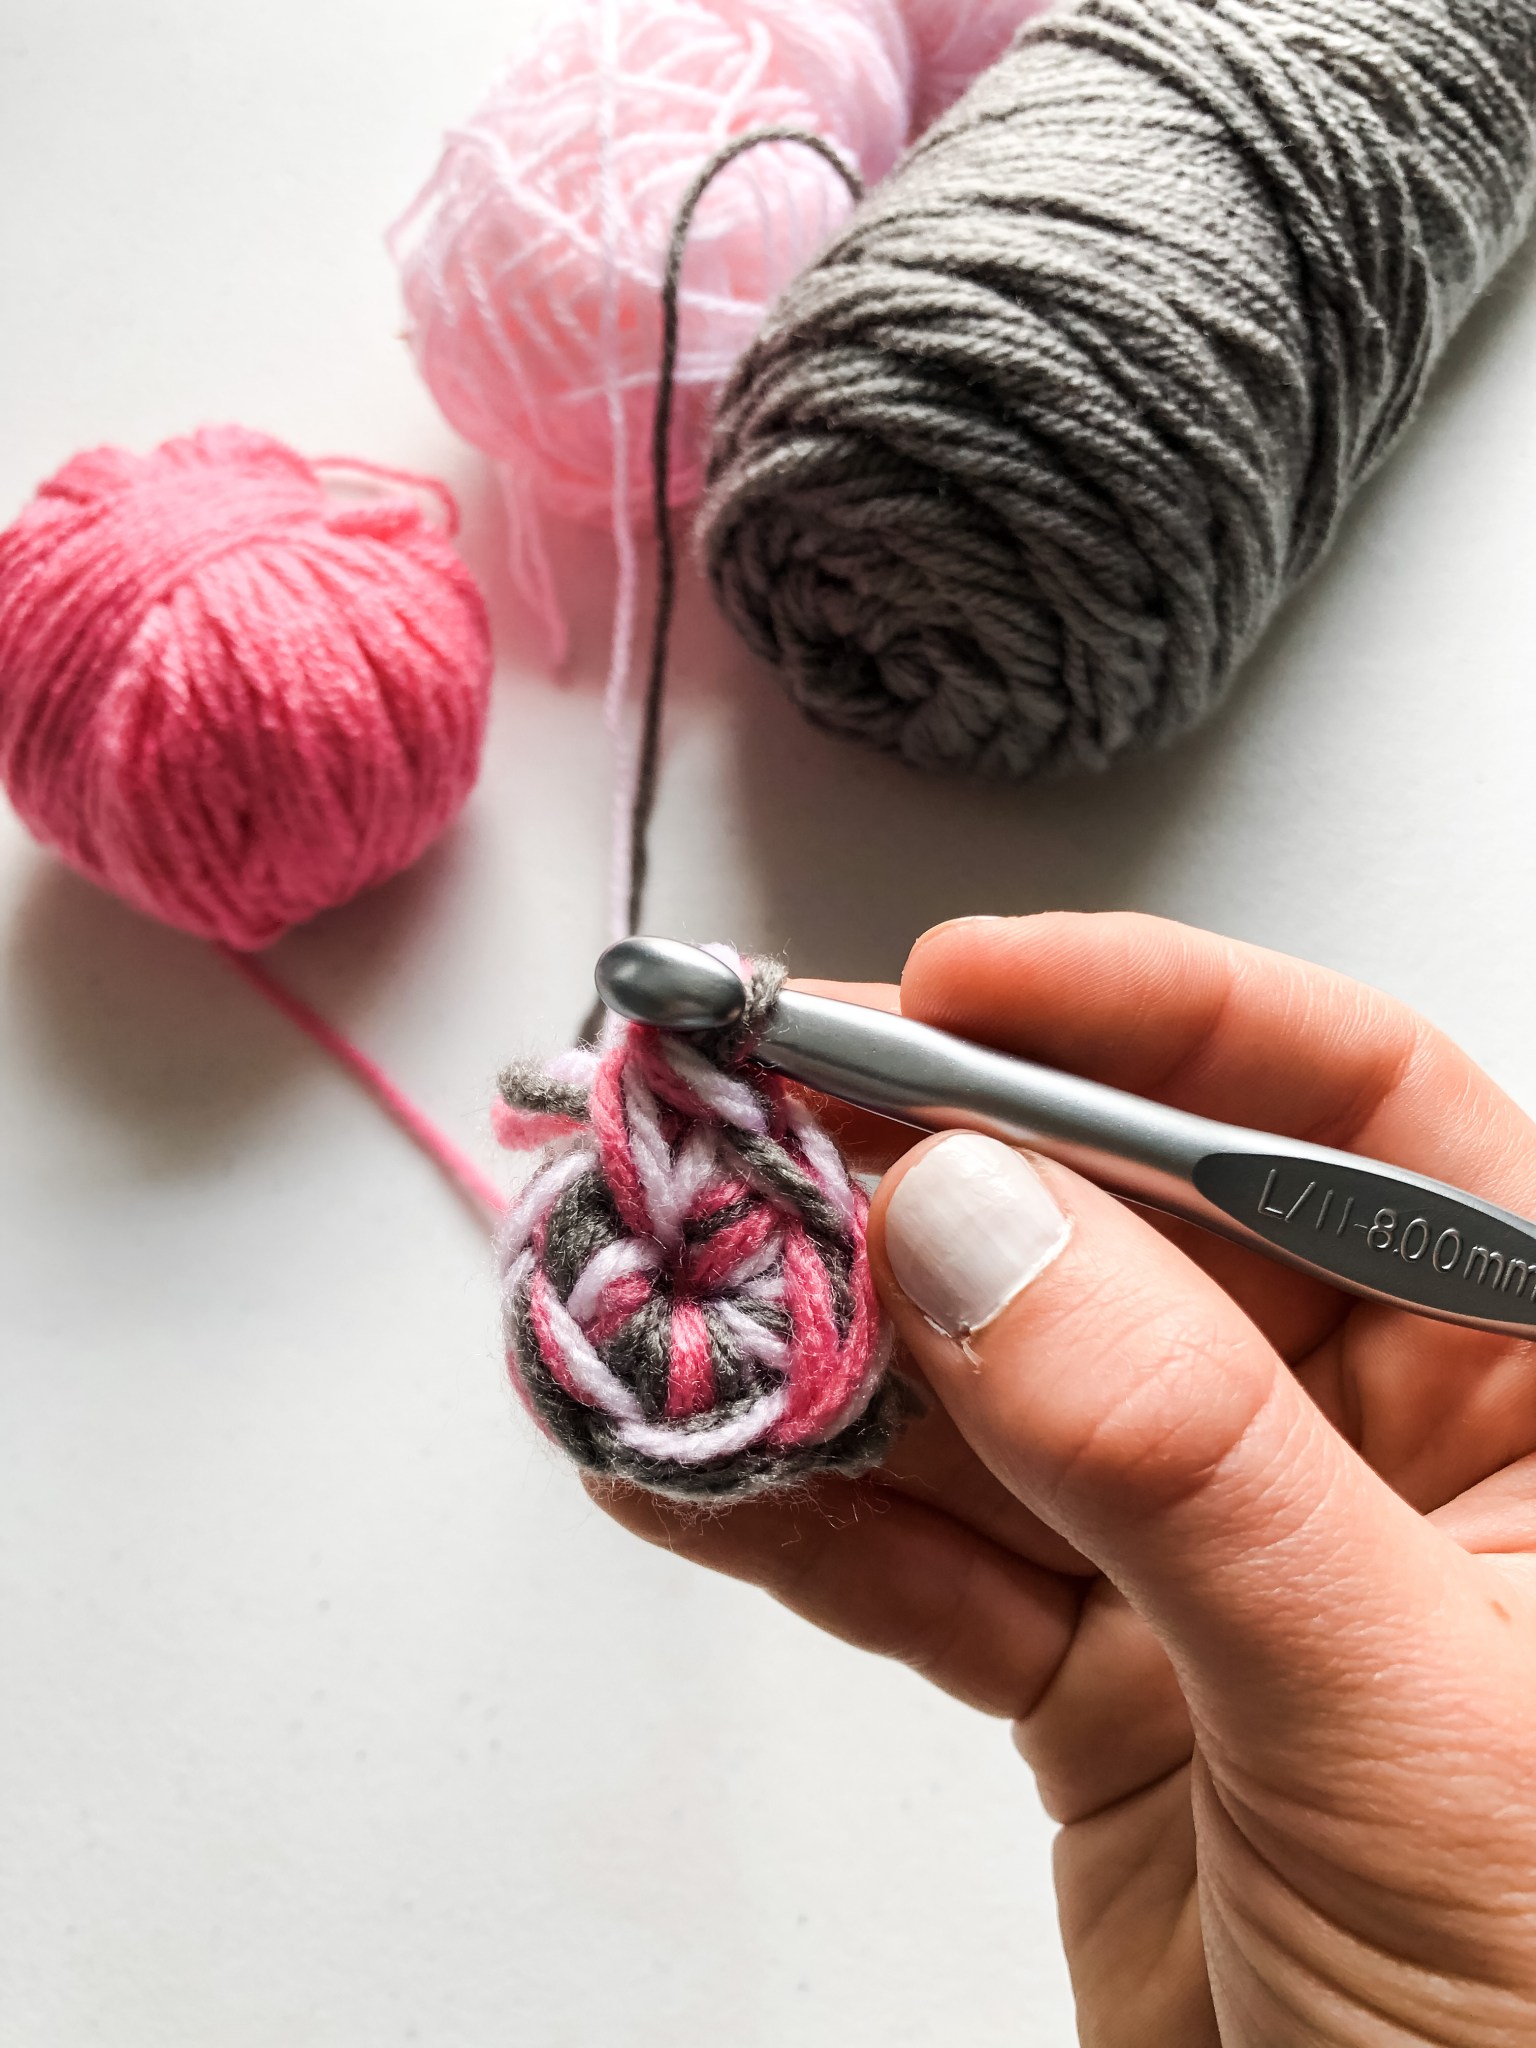
6 sc stitches to start the circle.
For the next round, work 2 sc into each stitch (for a total of 12 stitches in the round).
For the third round, sc 1 and then work 2 sc into the next stitch (18 stitches in the round).
For the fourth round, sc 2 and then work 2 sc into the next stitch (24 stitches in the round).
And so on and so forth, sc 3 and then work 2 sc in the next stitch for the following round, sc 4 and then work 2 sc in the next stitch for the round after that, sc 5 and then 2 sc in the round after that… until your circle is as big as you want the base of your crochet basket to be.
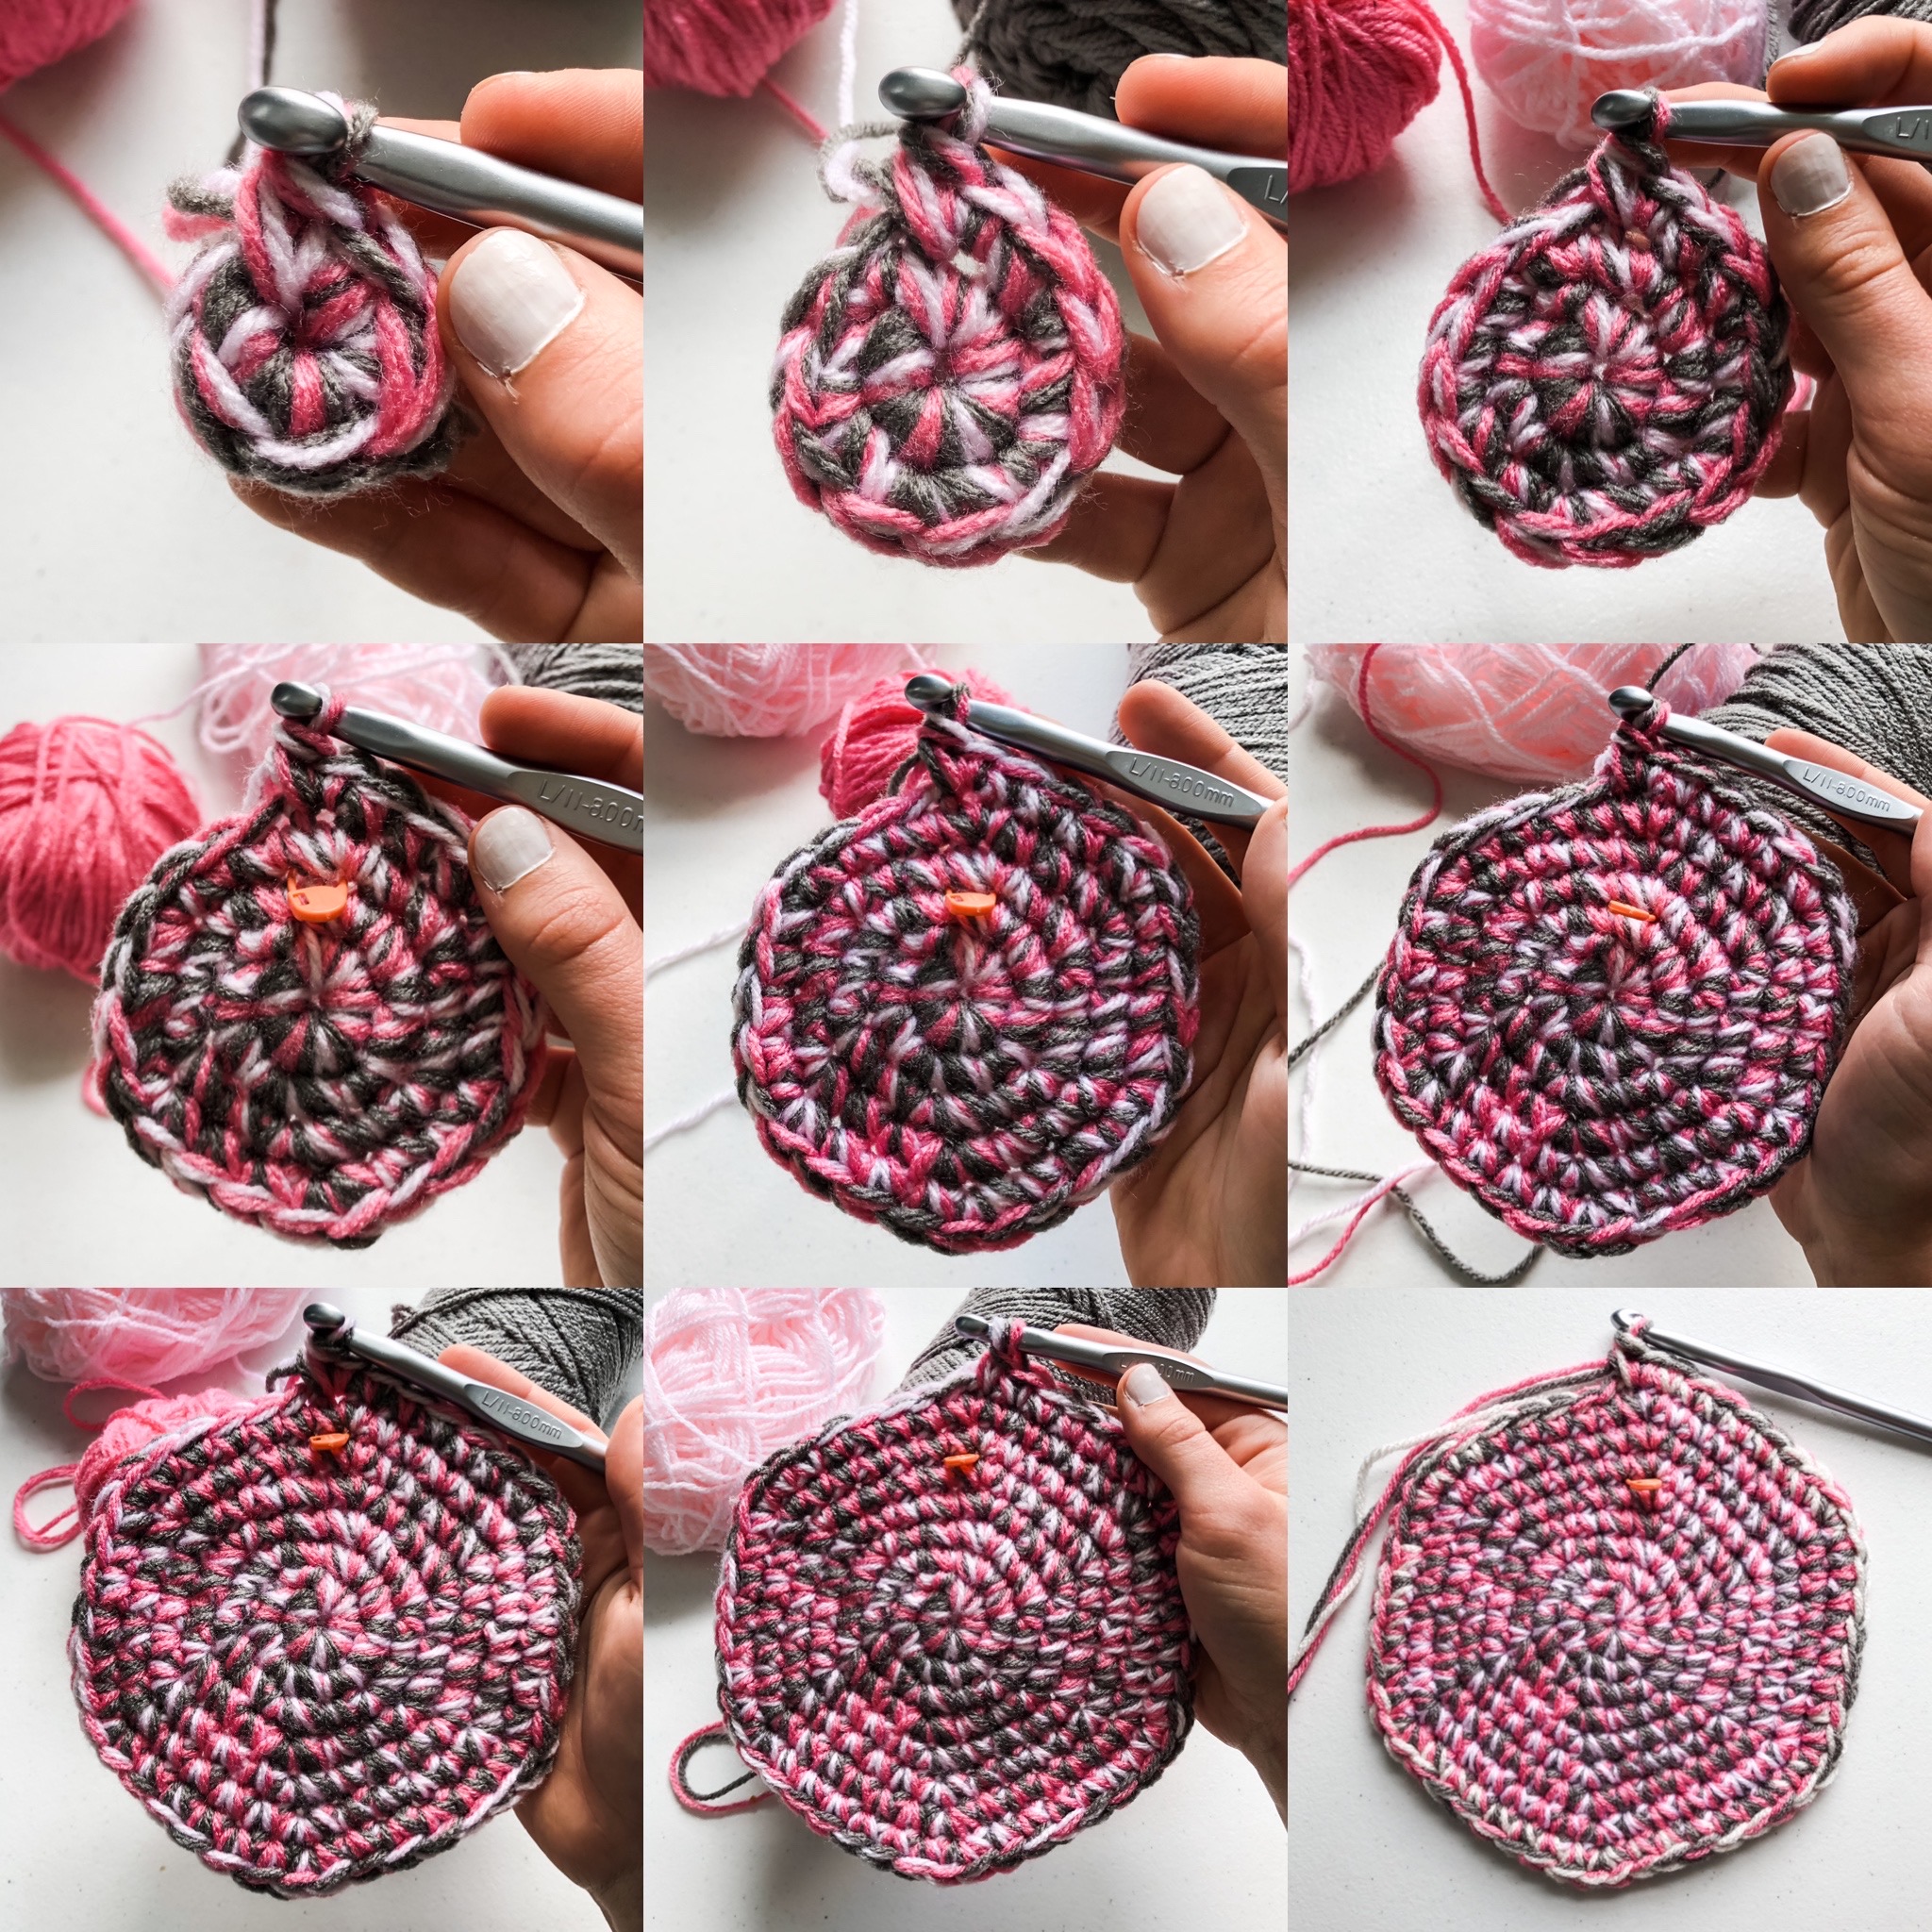
How to crochet a basket - the easy way!
I was making this to use as a crochet basket to store toys in my daughter’s room, so I wanted it to be a medium size. My base circle ended up being 96 stitches (sc 14, then 2 sc for that final round).

Pro tip - use your least favorite colors to make the base, because you will never see the bottom of the crochet basket. 😉
To change colors when one runs out, you simply drop the strand that only has a few inches left and work in the new one (leaving a few inches of a tail for the new strand). No need to tie any knots – you can weave the loose ends in when the crochet basket is complete.

After your circle is as big as you want it to be, then comes the fun part!
Put a stitch marker at the end of your final round, and leave it there. No more counting stitches; you can just mindlessly crochet while you watch TV or listen to a podcast (my favorite kind of crocheting 
The rest of the basket is just single crochet stitches around and around until it’s as tall as you want it to be, or until you run out of yarn scraps.

We're making progress! I love watching the crochet basket grow.
Once you’ve reached the desired height for your basket, it’s time to add handles! The size of your handles will be based on your preference and the size of your basket. For my basket, I decided to go with handles that were 8 chains long.
When you get the part of the basket where you want to create a handle, simply chain 8 from your last single crochet stitch.
Skip 8 stitches along the edge of the basket, and chain a single crochet into the 9th stitch, creating a bridge.
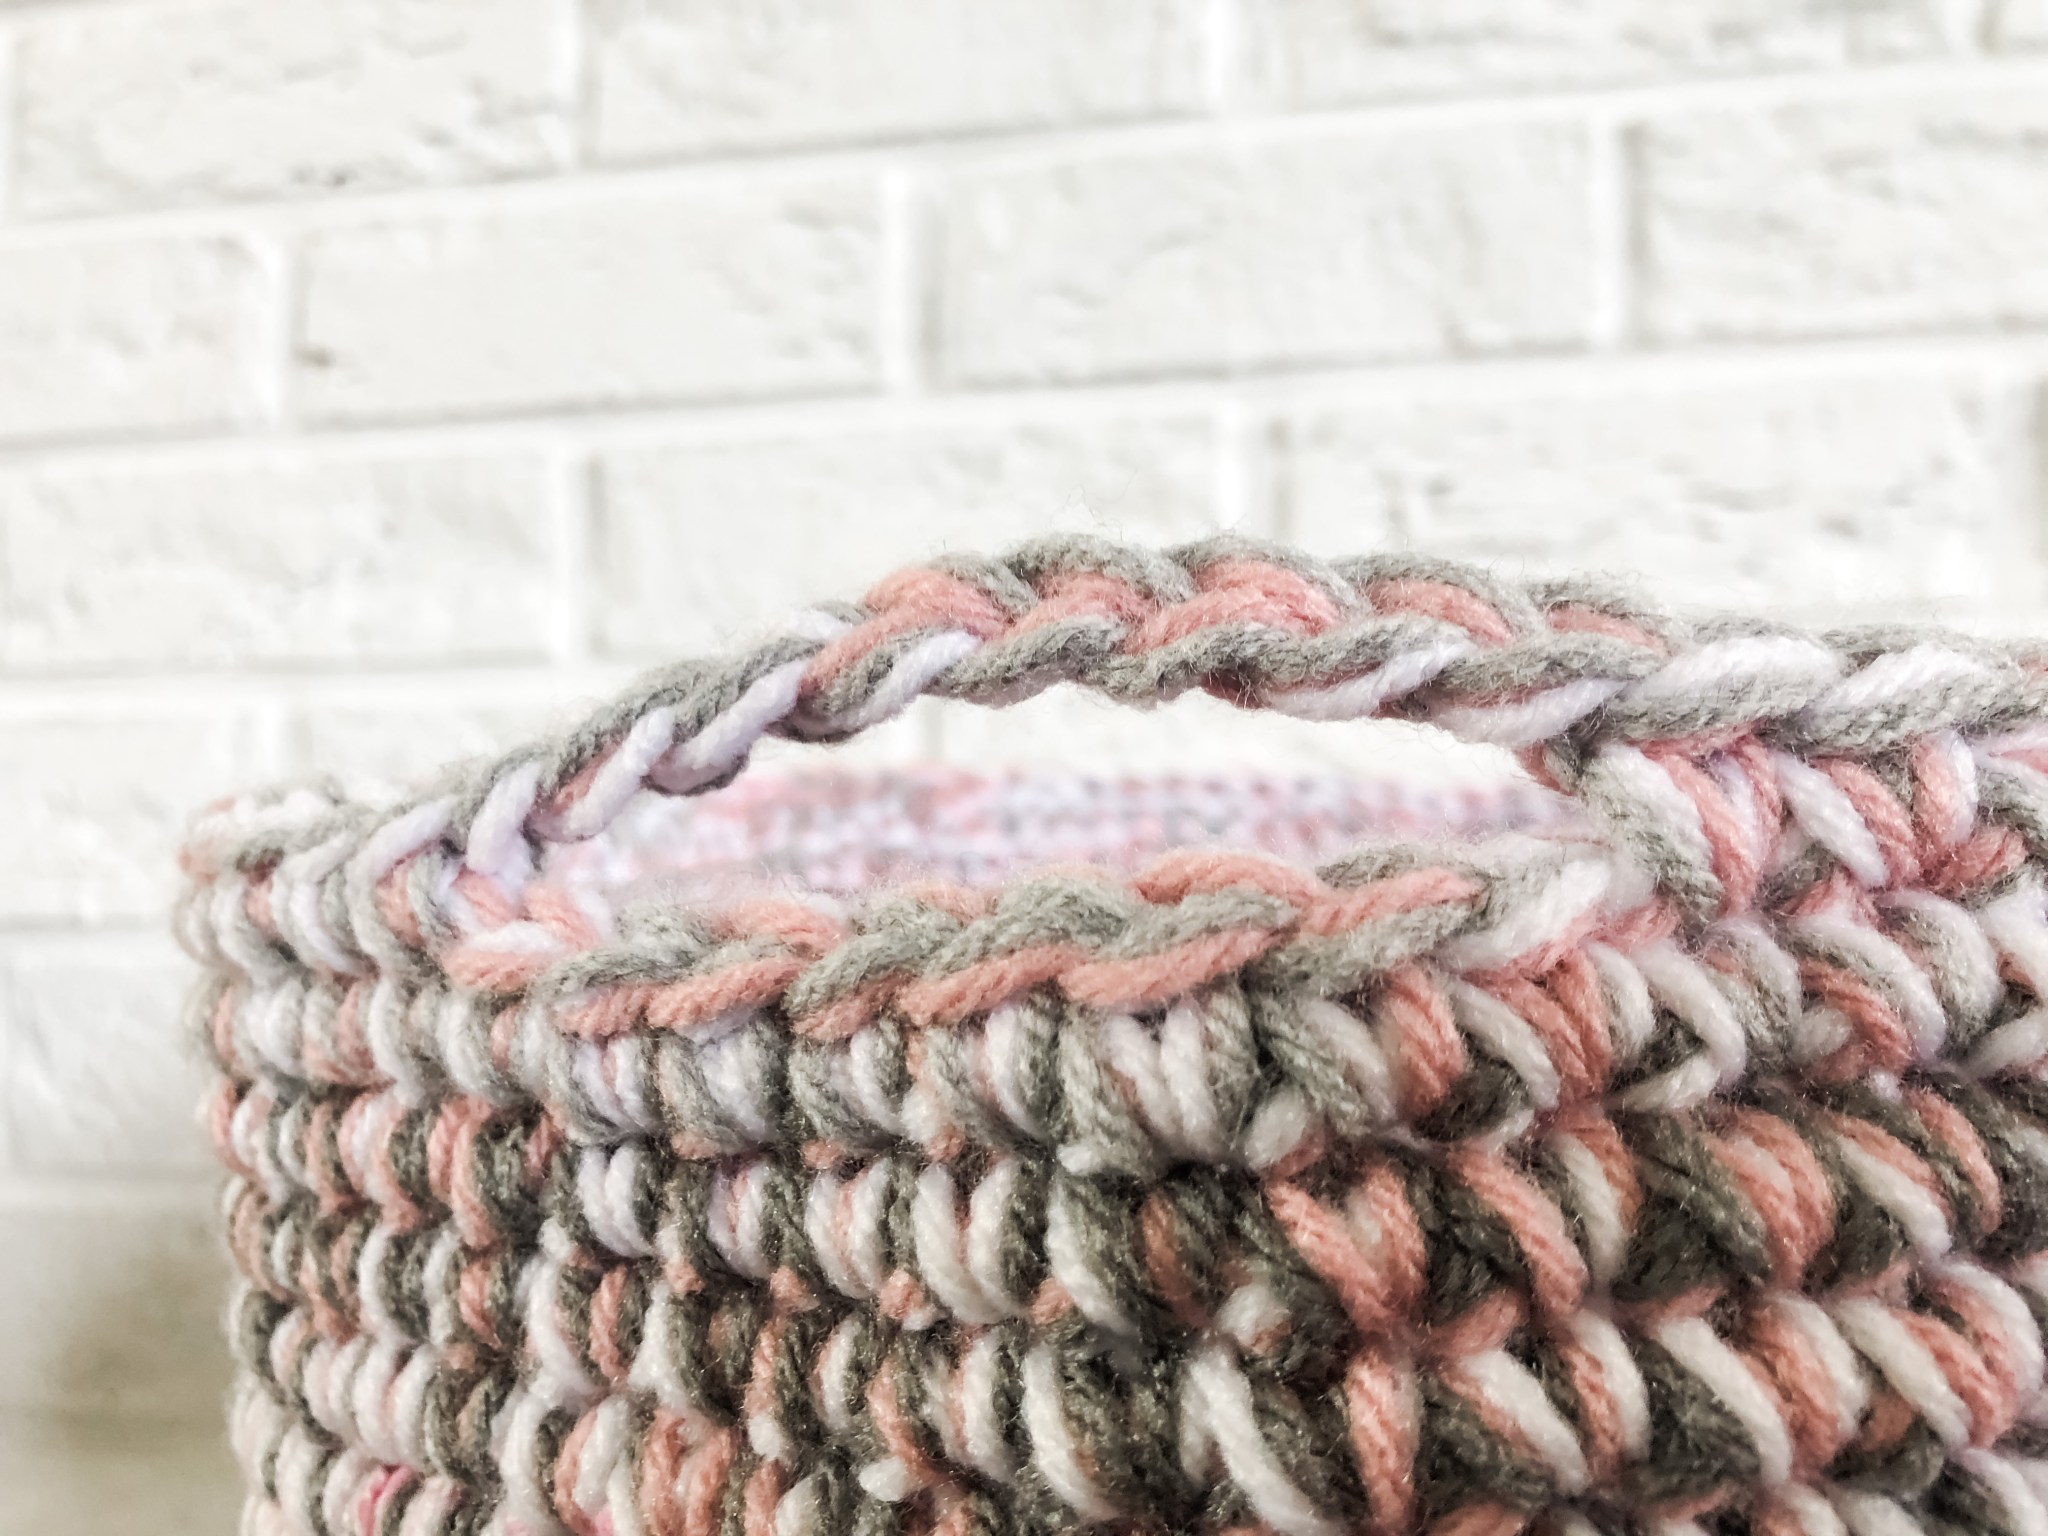


The fun thing about these scrap-busting crochet baskets is that I feel like it’s impossible for them to look bad. The colors just look so cool mashed up together in a basket, and it’s a great way to clear out your yarn scraps!
Drop me a comment below if you enjoyed this crochet basket pattern or have any questions!
xoxo,
Jess
P.S. if you like upcycle projects, check out this men’s shirt refashion tutorial!

